User Tools
Sidebar
Table of Contents
Installation wizard for TeemIp as a Standalone Application
This is the process to install TeemIp as a standalone application:
- Make sure that you have a properly configured instance of Apache/PHP running.
- Unpack the content of the “web” directory in a directory served by your web server (for example /var/www/teemip on Linux or C:\inetpub\wwwroot\teemip on Windows/IIS).
- Point your web browser to the URL corresponding to the directory where the files have been unpacked (for example http://localhost/teemip) and follow the indications on the screen.
TeemIp provides a step by step wizard to install the application.
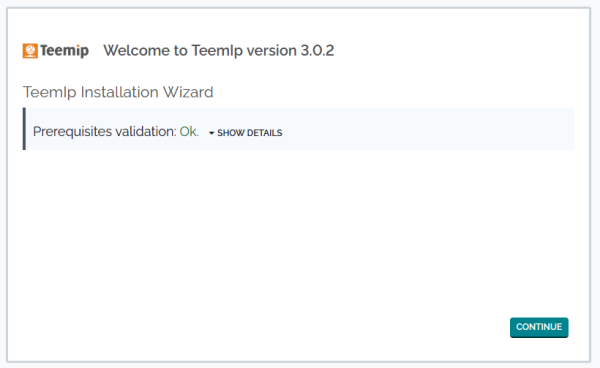
The first step of the installation consists in checking the consistency of the configuration and the prerequisites for MySQL, PHP and optional PHP extensions.
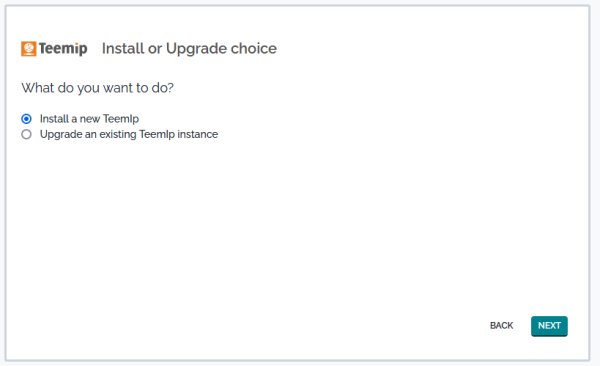
The second step of the installation offers the choice to either upgrade an existing TeemIp or to install the application from scratch.
Fresh installation
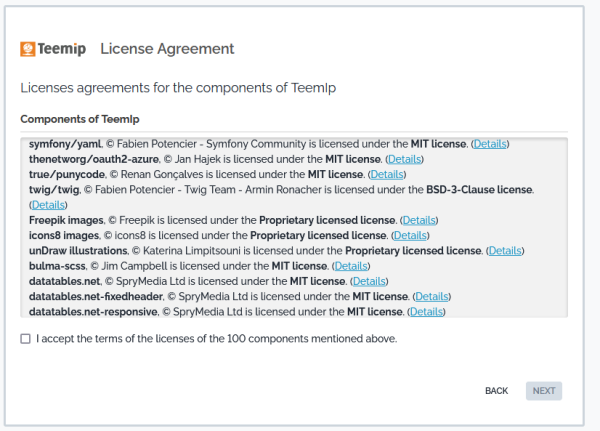
If you select to install a new instance then third step of the wizard will prompt you to accept the license agreement.
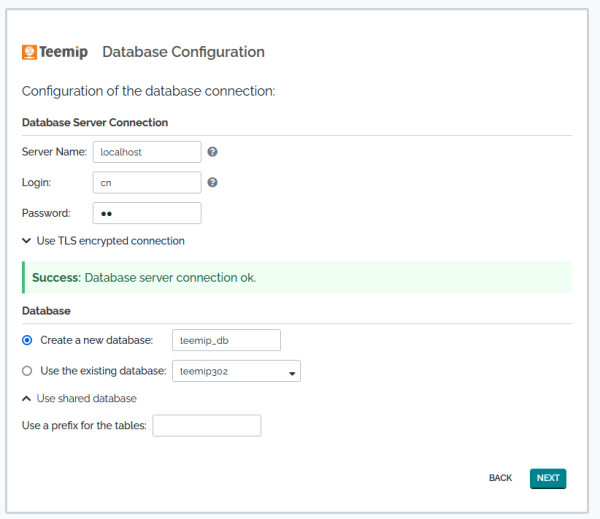
The fourth step of the wizard prompts you for the credentials to connect to MySQL and the database that will be used with TeemIp. Make sure that you supply an account with enough rights for installing and running TeemIp. This account needs to create tables, triggers and views in the database, as well as drop views in case of upgrade. If you choose to let the setup create a new database for you, this account needs to have the rights to do it.
You can also specify a prefix to be added to the names of all tables and views created by TeemIp in the database. This is useful if you want to install several applications inside the same MySQL database.
Note that the database server does not need to be on the same physical server as the PHP/web server. It can be a remote host if you prefer to have a two-tier architecture, or connect to an already installed MySQL server.
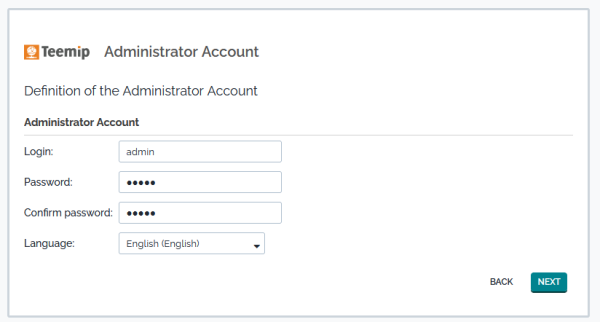
The next step of the wizard prompts you for the information about the administrator account. TeemIp authentication can rely on external mechanisms (LDAP, Active Directory or JASIG-CAS) but the installation requires that at least one administrator account be created with a local password.
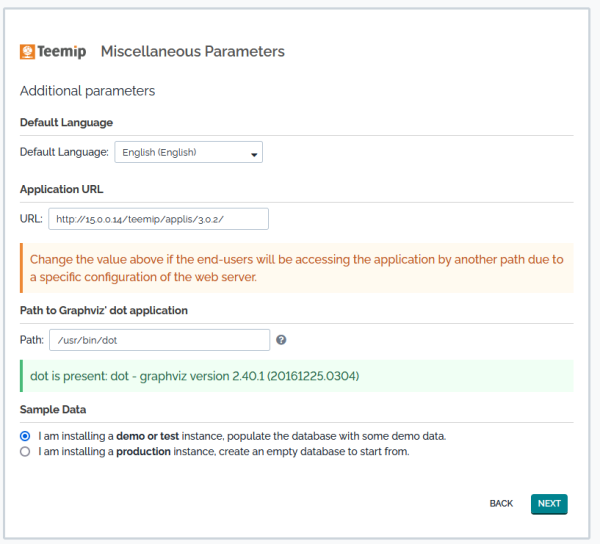
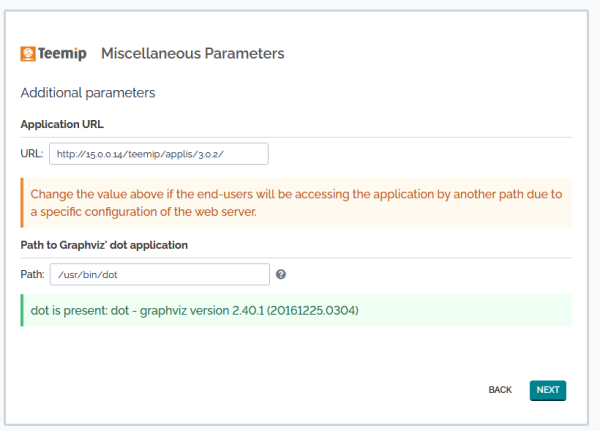
The next screen prompts your for several miscellaneous information:
- default language: this is the language of the login screen and the default language for newly created user accounts.
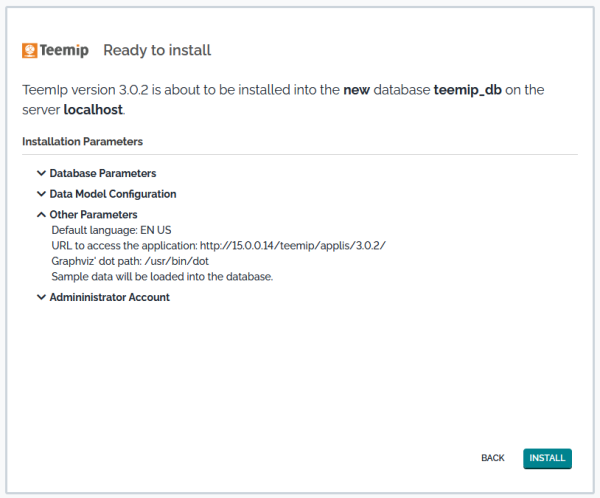
- URL to access TeemIp: change this value if users will be accessing TeemIp using a different URL (thanks to a DNS alias, a different IP adress, etc.)
- sample data: install sample data if you want to quickly experiment TeemIp. Sample data provide some sample configuration items (servers, applications, contacts). Do not select this option if you are deploying a production instance of TeemIp and if you want a “clean” installation.
Upgrade
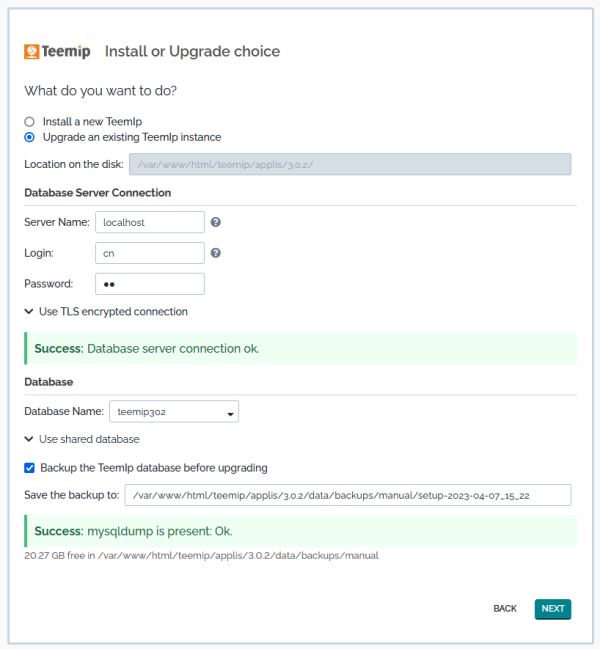
Should you decide to upgrade an existing instance, then the following step will ask you to specify that existing instance…
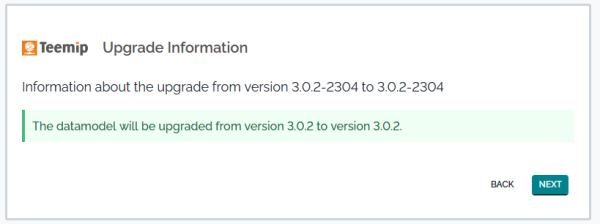
.. before displaying the current and next version of the product
.. and asking you to double check some additional parameters.
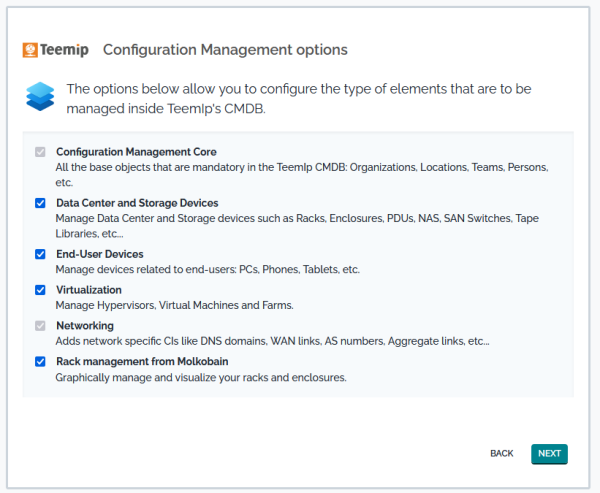
The following steps of the installation wizard will help you tailor the “data model” of TeemIp in order to best suit your needs.
Configuring the CMDB
The CMDB is made of 6 modules:
- The base/core module which is always installed. This module provides the basic objects that must always be present in TeemIp: Organizations, Locations, Contacts and a few common CIs like Servers, Groups, Applications, etc…
- The Data Center Devices module defines infrastructure devices such as Racks, Enclosures, PDUs, etc. it is optional.
- The End-User Devices module defines the devices related to end-users: phones, PCs, tablets… if you don't plan to manage such devices in TeemIp, you may uncheck this option.
- The Storage module defines configuration items related to the management of storage devices: SAN switches, NAS, Tape libraries and tapes, etc… It is optional.
- The Virtualization module defines Virtual Machines, hypervisors, farms, etc. You may uncheck it if you don“t plan to manage virtual devices in TeemIp.
- the Networking module is mandatory and brings network specific CIs like DNS domains, WAN links, AS numbers…
Configuring IP, DHCP and DNS Management
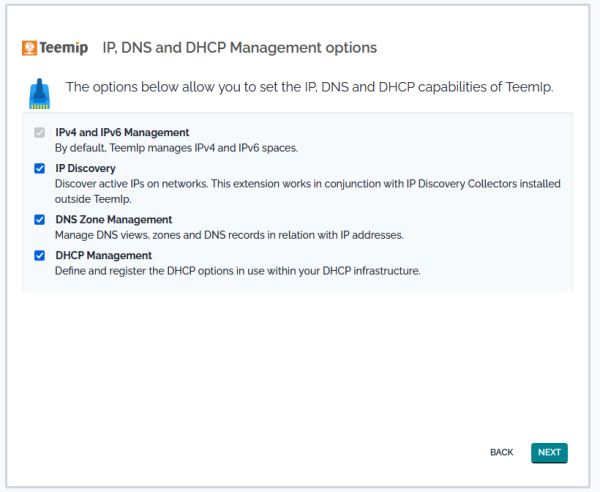
In the current version, there are 4 modules available:
- The base/core IP module will allow you to manage your IPv4 and IPv6 spaces. It must always be present in TeemIp.
- The IP Discovery extension that discovers active IPs on networks. This extension works in conjunction with IP Discovery Collectors installed outside TeemIp. It is optional.
- The DNS Zone Management module helps you manage DNS views, zones and DNS records in relation with IP addresses. This module is optional as well.
- And finally, the DHCP Management module to define and register the DHCP options in use within your DHCP infrastructure. Optional as well.
Configuring Ticket Management
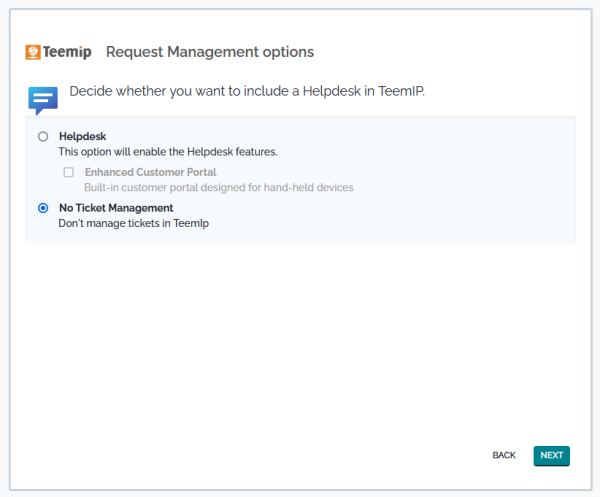
If you plan to rely on a user portal and manage user requests in TeemIp,
- Select the Helpdesk module.
Launching the installation
Once all the choices are made, a summary is displayed. You can drill down to check your choices by clicking on the “plus” button for each section.
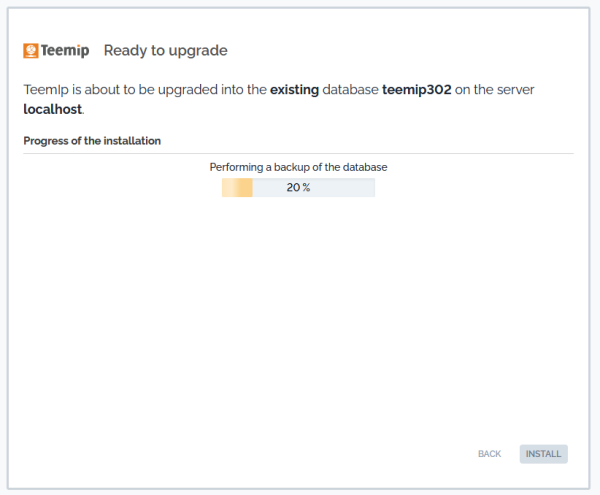
To start the actual installation of TeemIp, click on the “Install !” button.
The progress of the installation is displayed with a moving progress bar.
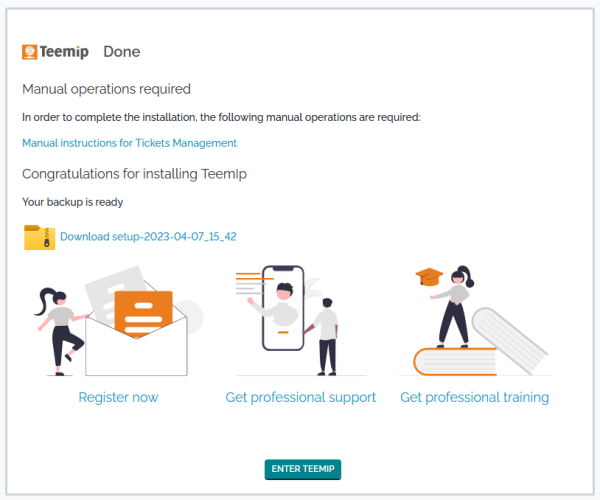
Once the installation is done, you can: Review the instructions about setting up the background tasks, by clicking the link “Manual instructions for Tickets Management”. Or enter TeemIp immediately by clicking on the “Enter TeemIp” button.
Congratulation, you’ve successfully installed TeemIp!
